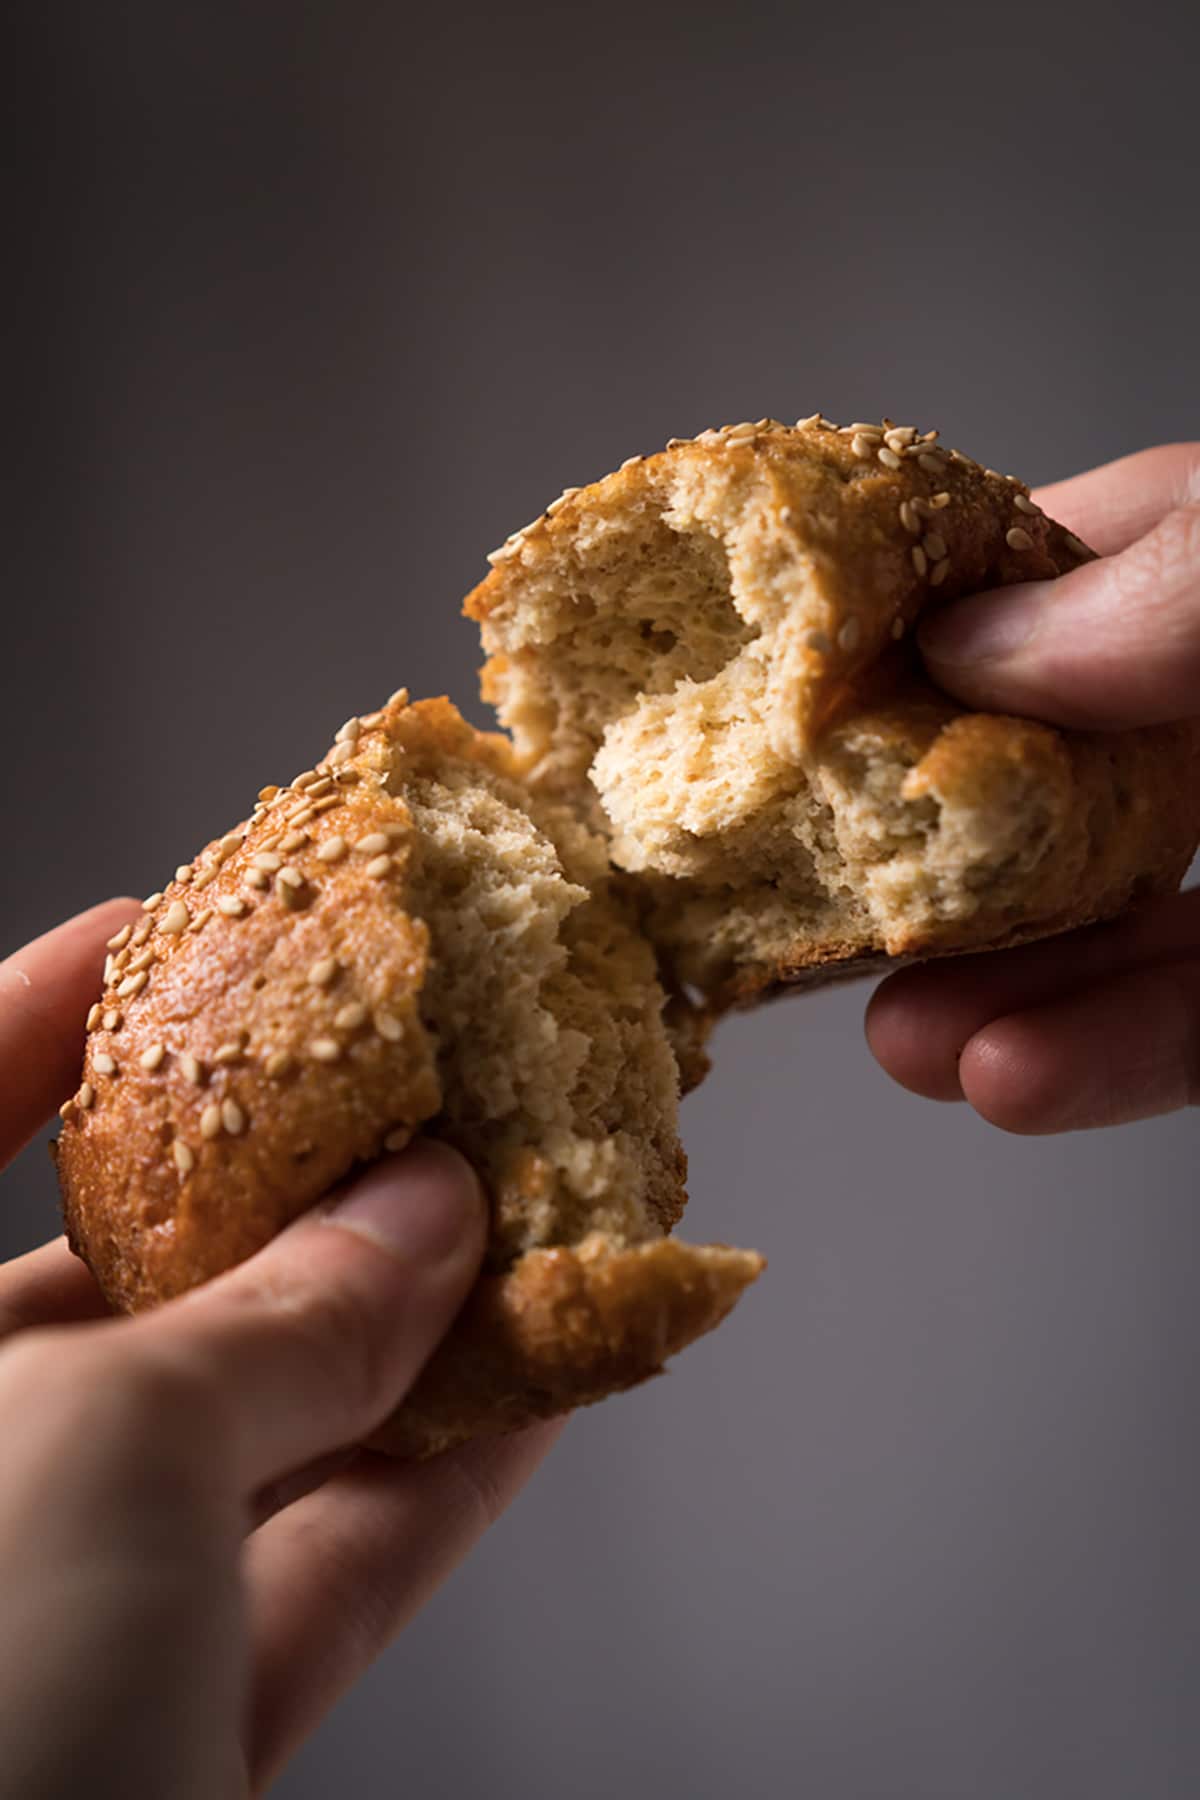
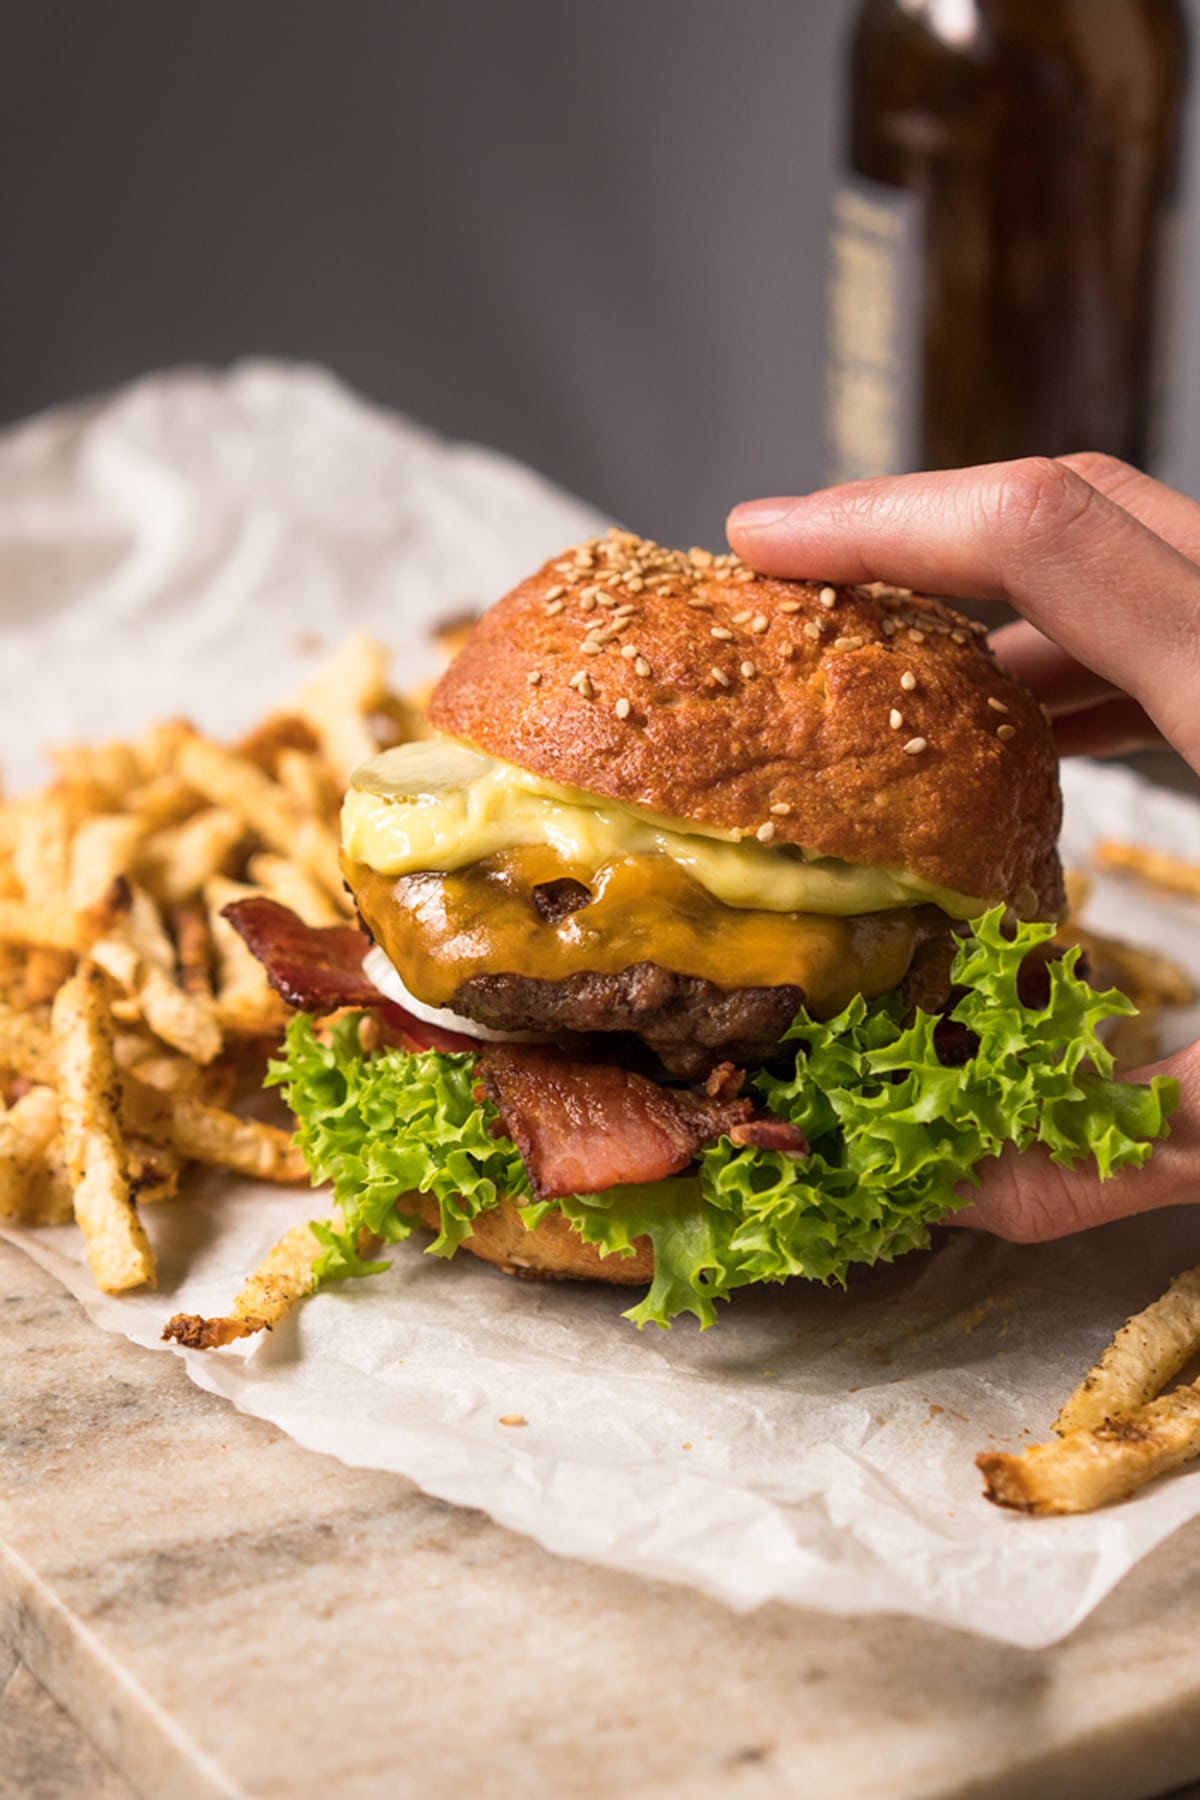
Actually soft ‘n fluffy, not eggy (at all!) and even great without toasting– these keto ‘wholewheat’ buns are a real delight!
Keto ‘Wholewheat’ Buns 😎
*actually* soft ‘n fluffy!
When I first started baking keto breads I truly never thought it would be possible to come up with a bread recipe that actually resembled the real deal. You know, a bread that you can simply just wholeheartedly enjoy in both texture and taste.
i.e. something even good enough to enjoy solo: no toasting, no gimmicks.
But over the past three years I’ve learnt that a lot is possible with variations of my beloved (soft ‘n fluffy!) sandwich bread. A truly delicious grain free bread in its own right (just read the reviews on that recipe!), and probably the closest recipe to an actual yeast bread on the site.
Still, these buns are a personal favorite. They keep very well at room temp for 4 days and freeze beautifully (think double batches, stashed away for a rainy day).
p.s. I’ve added new deets to the recipe to help you get an even better rise.
The Deets 
Making these paleo and keto burger buns is incredibly simple really. But, like with any yeasted bread, it does require you take care of a few details to ensure the best possible outcome.
The nice thing about these buns too, is that they didn’t fall at all post bake for me (hurray!). They’re size vs a sandwich loaf clearly does help with the lack of structure of grain-free flours.
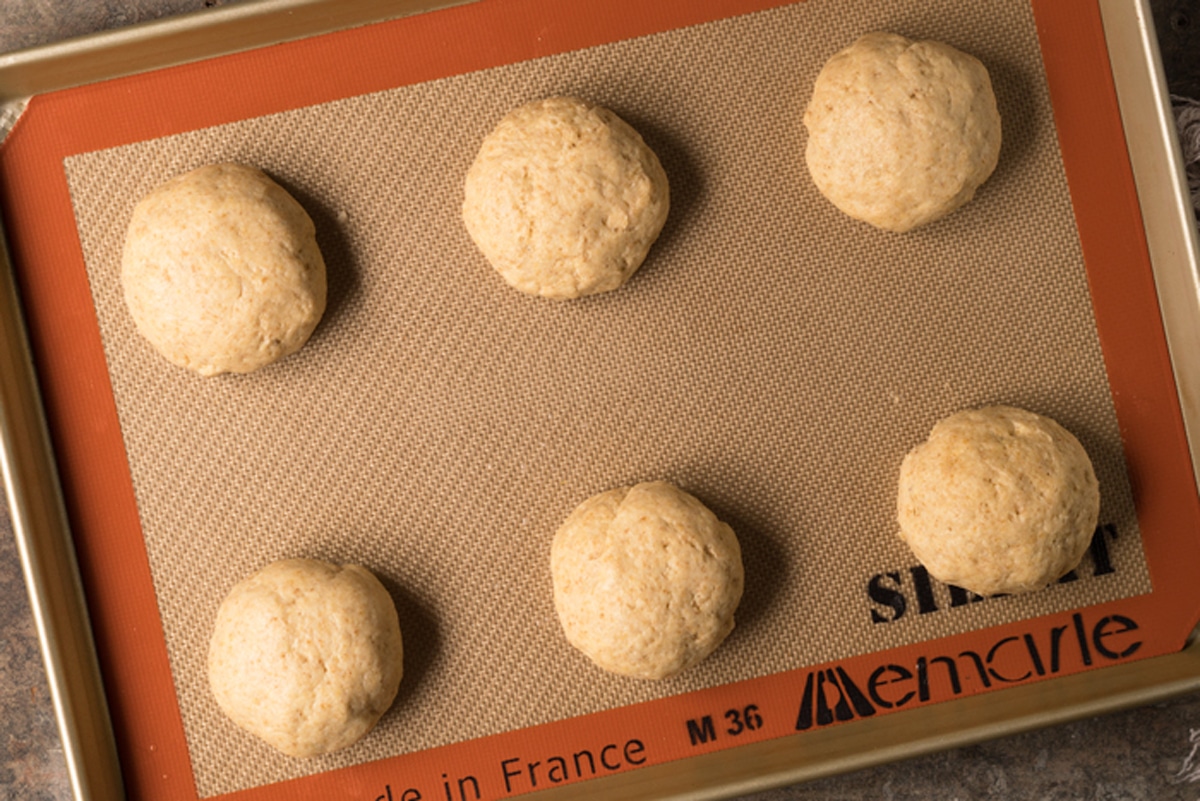
1. before rise
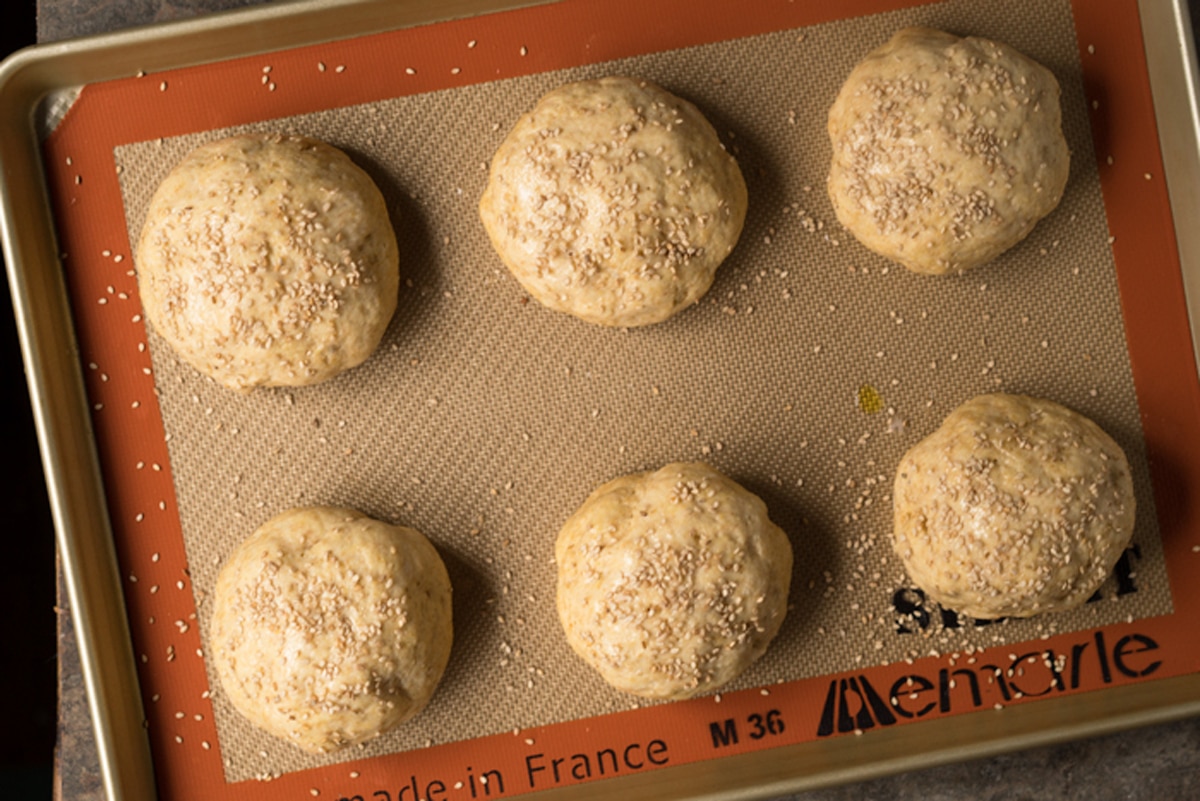
2. after rise
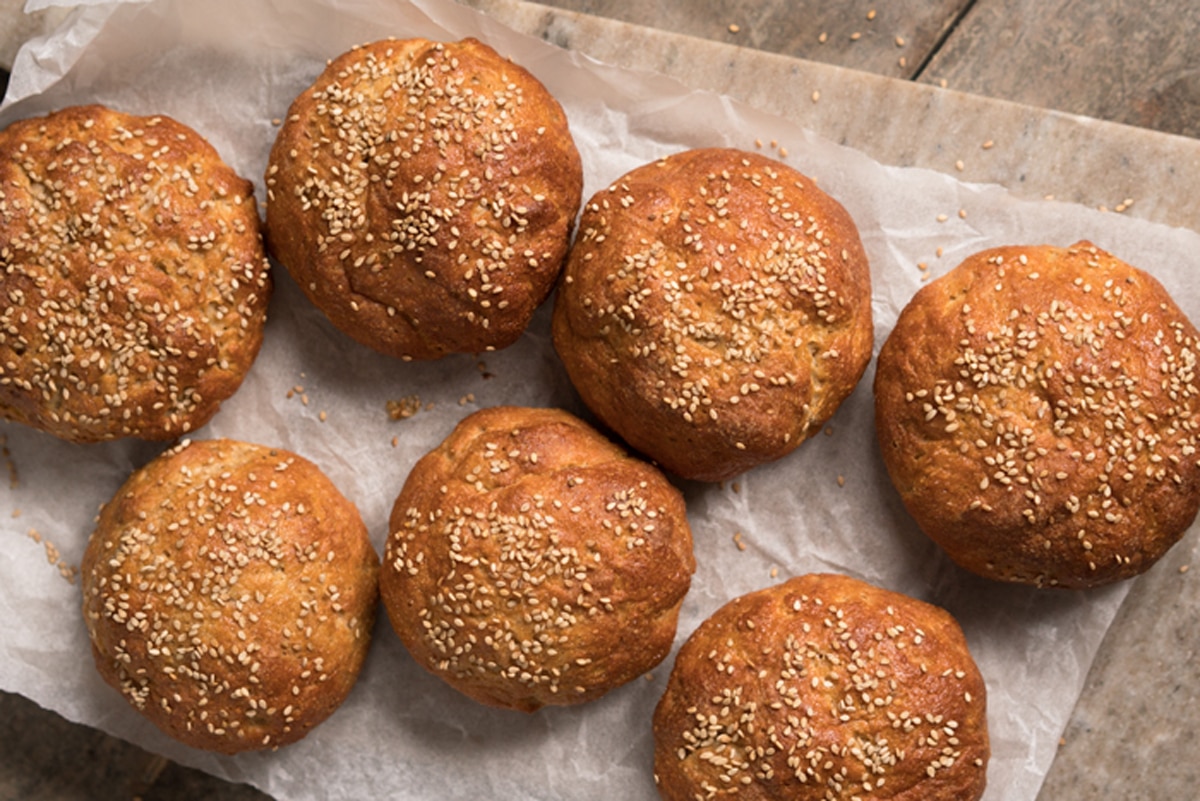
3. after bake
The Tips ‘N Tricks
I literally like to think of yeast breads as a tamagotchi (remember?! you gotta keep those things alive). Still, these keto buns definitely aren’t as finicky as other yeasted breads; but it’s still important to keep these suggestions in mind as we’re dealing with a live organism.
- Weigh your ingredients. This will forever be a staple recommendation for any sort of gluten free baking here at gnom-gnom… it makes a difference!
- Ingredients at room temperature. Self explanatory really, but incredibly important (particularly for the eggs). If you add cold eggs to the mix your bread simply won’t rise much (if at all). Remember your tamagotchi won’t thrive if its not nice ‘n warm.
- Proof the yeast. This involves mixing dry active yeast with water that’s just warm to touch (between 105-110°F to be precise) and inulin or an actual sugar (think maple syrup) for 7 minutes until foamy. And before you scream sugar (!!) remember that the yeast will feed on such sugar to emit carbon dioxide, so it doesn’t affect the carb count. And yes, this is a scientific fact.
- Avoid abrupt temperature changes and air drafts. Like with any yeast bread, you need to cuddle your dough. Make sure it’s able to rest undisturbed in a warm space. I like to turn on my oven briefly (briefly!), ensuring that it feels like a warm summer day at the beach, and just let it hang for an hour.
- Find an (actually!) warm spot to let it rise. Over the years of working with keto yeast breads (and thanks to your feedback!) I’ve come to realize the importance of actually adding some warmth to get the buns to rise properly. Say, I like to turn on my oven and get it feeling like a summer day at the beach, and leave the buns inside for half an hour (with the door propped open using a kitchen towel). Then while I’m preheating the oven for the actual bake (the next thirty minutes of the rise), I leave them on the stovetop where they still get some warmth from the oven heating up. i.e. unlike with traditional yeast gluten breads which get most of their rise during baking (and you need to be careful not to overproof!), with these guys you get most of the rise during the proof.
Keto 'Wholewheat' Buns (with yeast!) 😎
Ingredients
For the paleo & keto burger buns
- 2 teaspoons active dry yeast
- 2 teaspoons maple syrup or honey/inulin/sugar to feed the yeast (pssst! no sugar will remain post bake)*
- 120 ml water lukewarm between 105-110°F
- 168 g almond flour **
- 83 g golden flaxseed meal finely ground
- 15 g whey protein isolate
- 18 g psyllium husk finely ground
- 2 teaspoons xanthan gum or 4 teaspoons ground flaxseed meal**
- 2 teaspoons baking powder
- 1 teaspoon kosher salt
- 1 egg at room temperature
- 110 g egg whites about 3, at room temperature
- 56 g unsalted butter or ghee, melted and cooled
- 1 tablespoon apple cider vinegar
- 58 g sour cream or coconut cream + 2 tsp apple cider vinegar, at room temp
Instructions
- See recipe video for guidance on keto yeast breads. And check out the post for deets, tips and possible subs!
- Line a baking tray with a baking mat or parchment paper. Set aside.
- Add yeast and maple syrup (to feed the yeast, see notes) to a large bowl. Heat up water to 105-110°F, and if you don't have a thermometer it should only feel lightly warm to touch. Pour water over yeast mixture, cover bowl with a kitchen towel and allow to rest for 7 minutes. The mixture should be bubbly, if it isn't start again (too cold water won't activate the yeast and too hot will kill it).
- Mix your flours while the yeast is proofing. Add almond flour, flaxseed meal, whey protein powder, psyllium husk, xanthan gum, baking powder and salt to a medium bowl and whisk until thoroughly mixed. Set aside.
- Once your yeast is proofed, add in the egg, egg whites, lightly cooled melted butter (you don't want to scramble the eggs or kill the yeast!) and vinegar. Mix with an electric mixer for a couple minutes until light and frothy. Add the flour mixture in two batches, alternating with the sour cream, and mixing until thoroughly incorporated. You want to mix thoroughly and quickly to activate the xanthan gum, though the dough will become thick as the flours absorb the moisture.
- Divide dough into 8, shaping them into rounds using lightly wet hands. Cover with lightly oiled cling film (saran wrap), cover with a kitchen towel and place in a warm draft-free space for 40-60 minutes until the buns have substantially increased in size (see post for pics!). How long it takes depends on your altitude, temperature and humidity- so keep an eye out for it every 15 minutes or so. And keep in mind that you do need a bit extra warmth than traditional gluten doughs (I like placing the tray on top of my oven!).
- VIP note: find an (actually!) warm spot to let it rise. Over the years of working with keto yeast breads (and thanks to your feedback!) I've come to realize the importance of actually adding some warmth to get the buns to rise properly. Say, I like to turn on my oven and get it feeling like a summer day at the beach, and leave the buns inside for half an hour (with the door propped open using a kitchen towel). Then while I'm preheating the oven for the actual bake (the next thirty minutes of the rise), I leave them on the stovetop where they still get some warmth from the oven heating up. i.e. unlike with traditional yeast gluten breads which get most of their rise during baking (and you need to be careful not to overproof!), with these guys you get most of the rise during the proof.
- Preheat oven to 350°F/180°C while the dough is proofing. And if you're baking at high altitude, you'll want to bake it at 375°F/190°C.
- Bake for 25-30 minutes until deep golden, covering with a loose foil dome at minute 10-15 (just as it begins to brown). Just be sure that the foil isn't resting directly on the buns.
- Allow to cool completely for best texture, but you can get away with waiting just 15-20 mins for fresh warm buns!
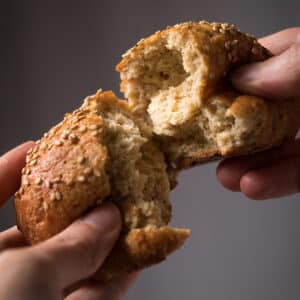
- Keep stored in an airtight container (or tightly wrapped in cling film) at room temperature for 4-5 days, giving it a light toast before serving. Though you'll find that these keto buns are surprisingly good even without toasting!
Wow these really are like “real” bread rolls! A bit of work but well worth it, thank you for the recipe.
My pleasure Nancy 🙂
I had to rush home from work yesterday to make these and, Oh.My.Stars, are they good! Well worth the little extra effort of rise time. I am having one for my lunch sandwich today, but would also be good with a breakfast egg sandwich, as dinner rolls, etc! Thanks so much for another great recipe!
Can pea isolate protein be used instead of whey isolate?
Unfortunately no Jose, it’ll give you just an odd texture. I suggest checking out my bagel recipe, it’s specifically developed without the whey isolate and it makes terrific buns too (according to your reviews!)
https://www.gnom-gnom.com/gluten-free-paleo-keto-bagels/
Hi, is the whey protein isolate imperative? is there a substitute?
For this recipe it is Laury as it’s what helps the buns not collapse post bake. But my bagel recipe can be made into buns too (it’s a little simpler than this one but uses yeast too!) xo!
https://www.gnom-gnom.com/gluten-free-paleo-keto-bagels/
Can I substitute whey with something or leave it away?
Paola – can egg protein powder be substituted for the whey powder isolate. Dairy allergies to avoid here. Thanks!
Good morning, Sounds like a super duper recipe but I do not have the Whey Isolate in the house, what can I use instead? Can I just leave it out and will it come out as good as yours?
Hi Paola, I notice that the directions to re-grind the psyllium and flax aren’t here. Is that an oversight, or can we skip that extra step?
I’ve a tip for proofing and for warming my eggs if I forget to make them out ahead of time – warm water baths!
For proofing, I put a 2C glass measuring cup inside a 4C glass measuring cup, and add very hot tap water to surround the 2 C. That keeps everything warm as the yeast proofs.
For eggs, I put very hot tap water into a bowl, put my eggs (in the shell!) in there and let them warm while I prep the other ingredients. By the time I’m ready for them, they’re warmed up and ready to be used.
I’ve come to depend on your yeasted bread and bun recipes. They make life without wheat bread so much better!!
Can this be done as a loaf as well?
I can’t find video either, will you be posting on your YouTube channel?
I’ll be doing a dedicated video for YouTube yes (I’ll be back posting there in a week- currently moving places sorry!)
Sounds like a great recipe, but all I have is Fleischmann’s Instant Dry Yeast. How would that affect the recipe?
Hi Missy
I haven’t tried it with this recipe yet, but I know in general yeast baking you can substitute instant yeast for active dry. Use 25% less instant yeast (so in this case you would use 1 1/2 teaspoons) and mix it into the dry ingredients. Add the water you would use for proofing to your dough at the same time you add the rest of the liquid ingredients (the eggs, etc.)
There is a really good article on Epicurious site about this.
I can’t see/find the video
They’re generally blocked by add blockers :-/